使用ambari快速部署Hadoop集群
作者:互联网 时间: 2026-09-01 14:23:57
使用ambari快速部署Hadoop集群需要先看清适用场景和关键步骤,避免只记结论却忽略实际限制。
基础环境准备
在所有节点都执行ssh-keygen -t rsa 生成Key
[root@linux-node1 ~]# ssh-keygen -t rsaGenerating public/private rsa key pair.Enter file in which to save the key (/root/.ssh/id_rsa): Enter passphrase (empty for no passphrase): Enter same passphrase again: Your identification has been saved in /root/.ssh/id_rsa.Your public key has been saved in /root/.ssh/id_rsa.pub.虽然除了Server端之外其它节点可以不执行,但是ssh-keygen命令会帮我们创建相应的目录并设置权限,不在需要我们手动操作。
将Ambari Server的公钥scp到其它节点上
[root@linux-node1 ~]# scp .ssh/id_rsa.pub 192.168.56.12:/root/.ssh/authorized_keys设置权限
[root@linux-node2 ~]# chmod 600 ~/.ssh/authorized_keys测试连接
[root@linux-node1 ~]# ssh 192.168.56.12Last login: Sat Apr2 16:42:46 2016 from 192.168.56.1[root@linux-node2 ~]#设置完毕无密码登录后,我们就可以开始部署ambari-server了。
安装jdk
由于ambari安装过程中的jdk下载比较缓慢,所以我们可以直接使用yum仓库里面的openjdk
[root@linux-node1 ~]# yum install -y java-1.8.0部署ambari-server
ambari-server的部署比较简单,很多实用实用默认即是最好的选择。
安装ambari-server
[root@test-node3 ~]# cd /etc/yum.repos.d/# wget http://public-repo-1.hortonworks.com/ambari/centos7/2.x/updates/2.2.0.0/ambari.repo# yum install -y ambari-server设置ambari-server
安装完毕后,需要使用ambari-server setup命令进行设置,均可以使用默认设置,直接回车即可。
[root@linux-node1 ~]# ambari-server setupUsing python/usr/bin/python2Setup ambari-serverChecking SELinux...SELinux status is 'disabled'Customize user account for ambari-server daemon [y/n](n)? Adjusting ambari-server permissions and ownership...Checking firewall status...Redirecting to /bin/systemctl statusiptables.serviceChecking JDK...[1] Oracle JDK 1.8 Java Cryptography Extension (JCE) Policy Files 8[2] Oracle JDK 1.7 Java Cryptography Extension (JCE) Policy Files 7[3] Custom JDK===========================================================================Enter choice (1): 3WARNING: JDK must be installed on all hosts and JAVA_HOME must be valid on all hosts.WARNING: JCE Policy files are required for configuring Kerberos security. If you plan to use Kerberos,please make sure JCE Unlimited Strength Jurisdiction Policy Files are valid on all hosts.Path to JAVA_HOME: /usr/lib/jvm/java-1.8.0-openjdk-1.8.0.77-0.b03.el7_2.x86_64/jre/Validating JDK on Ambari Server...done.Completing setup...Configuring database...Enter advanced database configuration [y/n](n)?Configuring database...Default properties detected. Using built-in database.Configuring ambari database...Checking PostgreSQL...Running initdb: This may take upto a minute.Initializing database ... OKAbout to start PostgreSQLConfiguring local database...Connecting to local database...done.Configuring PostgreSQL...Restarting PostgreSQLExtracting system views...ambari-admin-2.2.0.0.1310.jar......Adjusting ambari-server permissions and ownership...Ambari Server 'setup' completed successfully.启动ambari-server
[root@linux-node1 ~]# ambari-server start
查看监听端口
[root@linux-node1 ~]# netstat -ntlp | grep 8080tcp6 00 :::8080 :::*LISTEN24168/java访问ambari server
现在可以在浏览器访问你的ambari server了。注意端口是8080。
http://192.168.56.11:8080/默认的用户名和密码都是admin
创建Hadoop集群
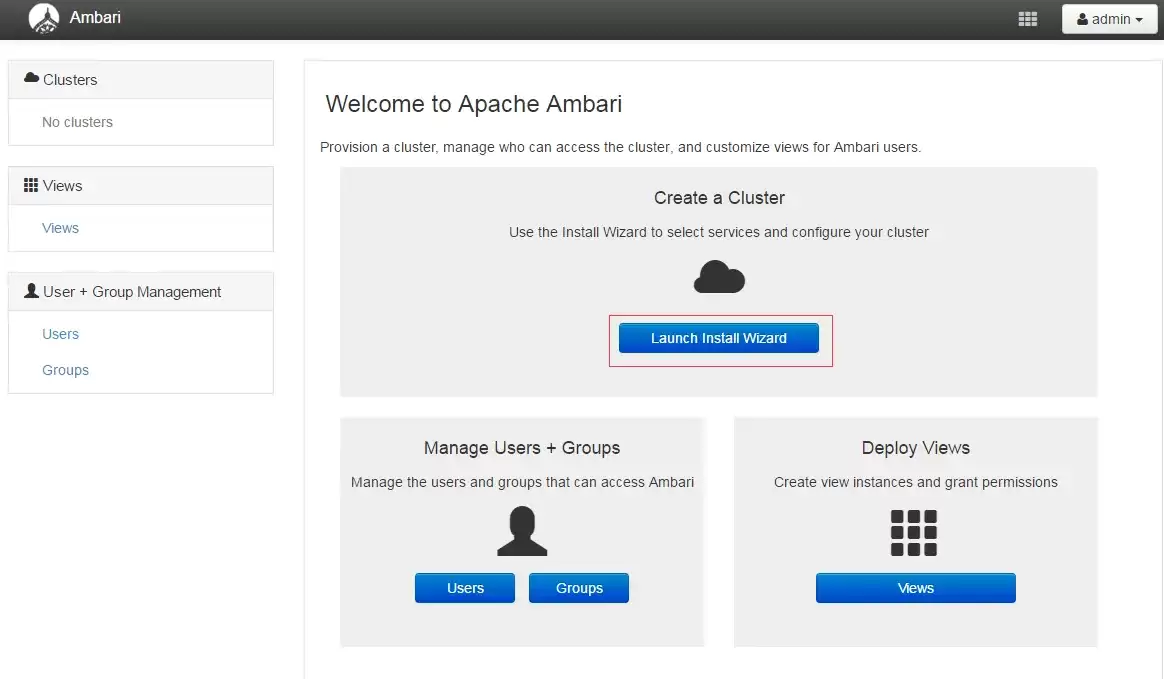
登录 Ambari 之后,点击按钮“Launch Install Wizard”,就可以开始创建属于自己的大数据平台。
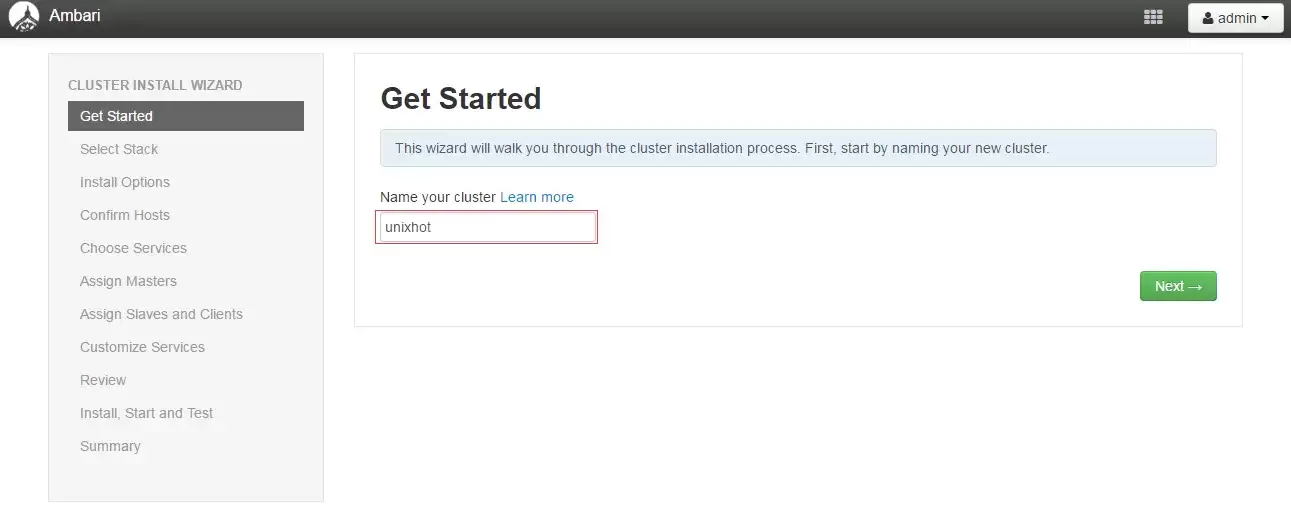
1.设置集群的名称
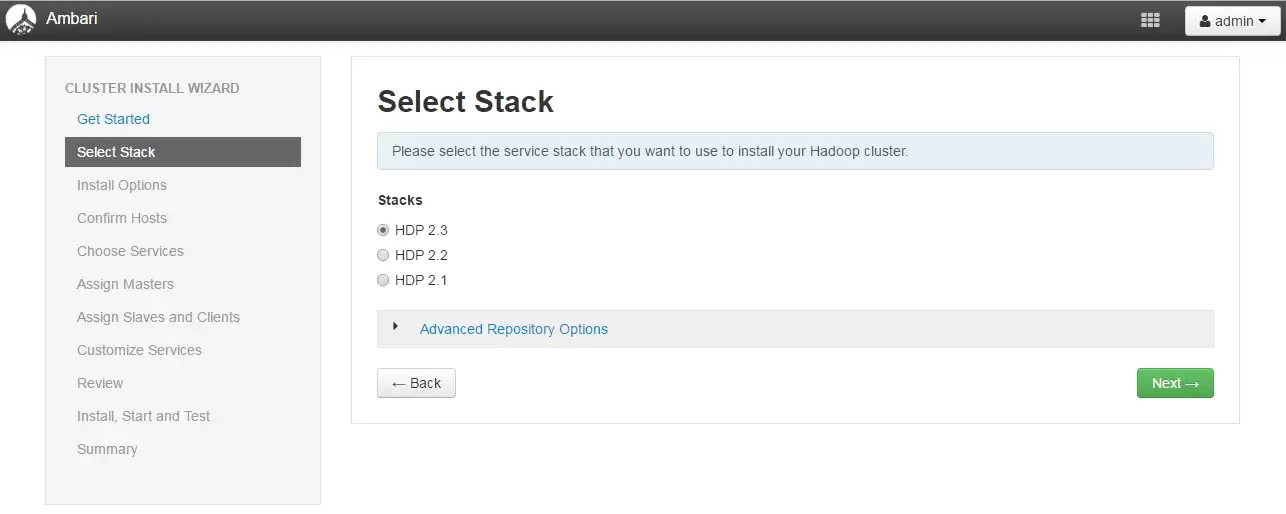
2.选择一个Stack,默认使用最新版本。
3.填写你环境的所有主机名,并上传验证的公钥。注意使用FQDN名称,并且主机名要能够解析。
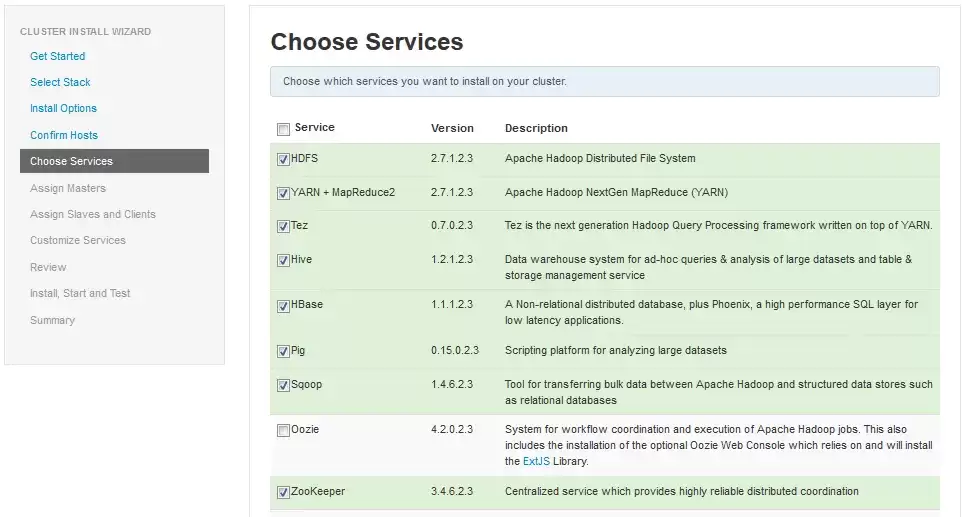
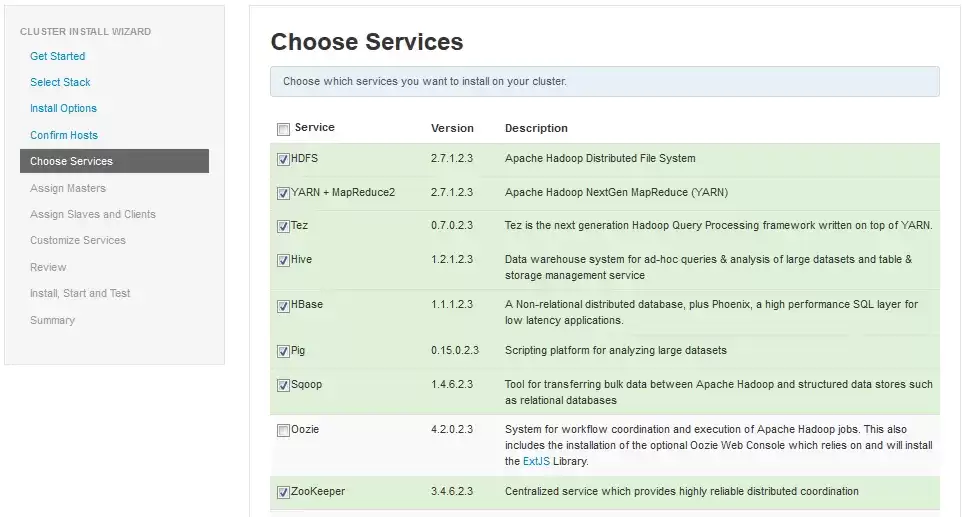
4.选择需要安装的组件
5.角色分配
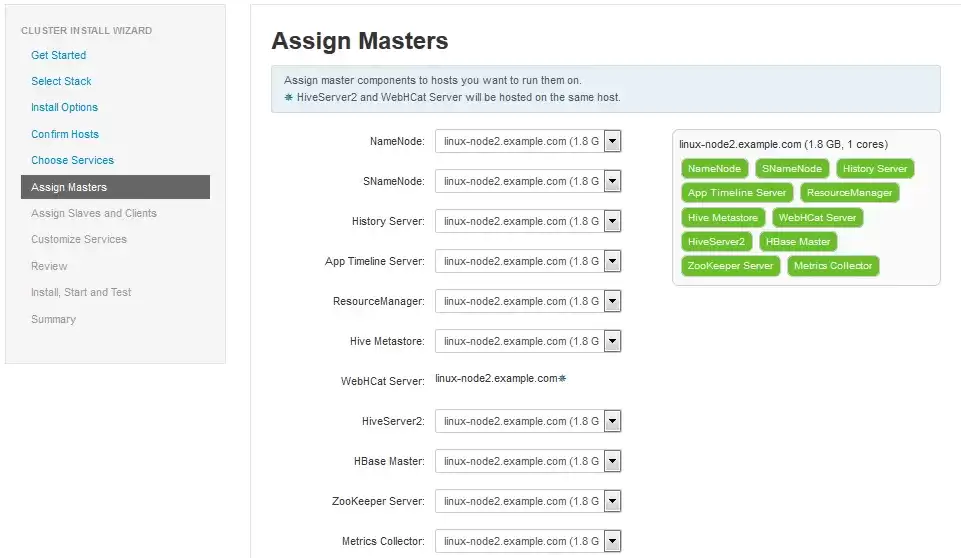
其它步骤均使用默认配置即可。
相关资讯
-
- Redis基础篇之特性、使用场景与配置指南实用指南
- 2026-10-17
-
-
-
-
- C# 静态成员与非静态成员的实现方式实用指南
- 2026-10-17
-
- DeepSeek多模态怎么样及保姆级配置教程(codex、claude)实用指南
- 2026-10-17
推荐专题
更多最新游戏
更多-
- 我竟然是姐姐的监护人手游
- 2024-12-02 8.1 分
-
- 三国战纪 (版本. 117) kov.zip
- 2021-06-17 7 分
-
- 三国霸略
- 2021-08-04 4 分
-
- 脑袋晕乎乎的忍耐辅助应用程序2安卓
- 2021-09-12 8.9 分
-
- 赘婿的复仇无限金币
- 2024-08-25 6 分